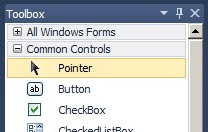
Adding a Button
Find the button tool, and drag over to our window. Previously, we used the double-click method of selecting an element and double-clicking on it. When we would double-click the element would show up on the form in a default location, and then we would have to move it to where we wanted it to be. Using the drag method allows us to select an element and then put it directly where we want it to be.
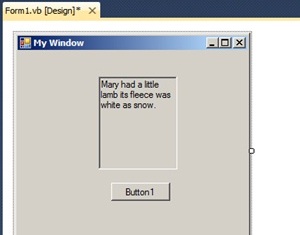
Leave it where you want it. You can still move it around more later on. You can move the text box as well as the button, either by using the mouse or the cursor keys.
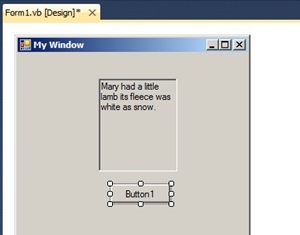
Select the button. Similarly to when we selected the form or the text box, little white squares are placed around the button. The purpose of the little squares, just like for the text box identifies that the element has been selected as well as a means to expand or contract the size of the element.
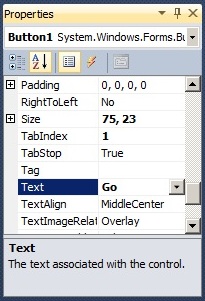
Notice the text property says Button1, which is the same as the text on the button.
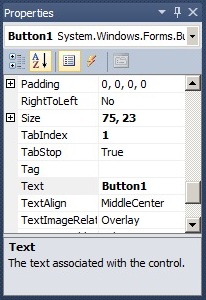
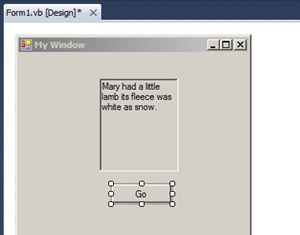
Change the Button1 text to be Go by modifying the text property value.
And the text on the button changes. The text on the button can say anything you want it to say. There are some common terms used on buttons such as Cancel. Though when we change the text on the button to say Cancel, it just changes the word on the button and does not actually do anything. In the next section, we will make the button actuall do something when pressed. Currently, when this program is run the button is shown, but it does not do anything when pressed.
Adjusting the properties of the textbox
Next Chapter ⇒
Behind the scenes programming

Powered by w3.css